
October is not only Pastor Appreciation Month, but it is also conference month! Well, at least for the Kansas and Michigan Districts. Which means, I just sat through a whole bunch of PowerPoint presentations. And, by-and-large they were not pretty. Not trying to criticize, just stating a fact.
Nowadays PowerPoint is easier than ever to use. But, if you grew up in olden times it was quite the tedious program. Because of that I get the sense that many people think that the things they would like to do are cumbersome and time consuming. Well, not anymore. Things are much more streamlined and fairly simple. But, before we dive in, read Katy Munson’s article: How to Use PowerPoint Effectively.
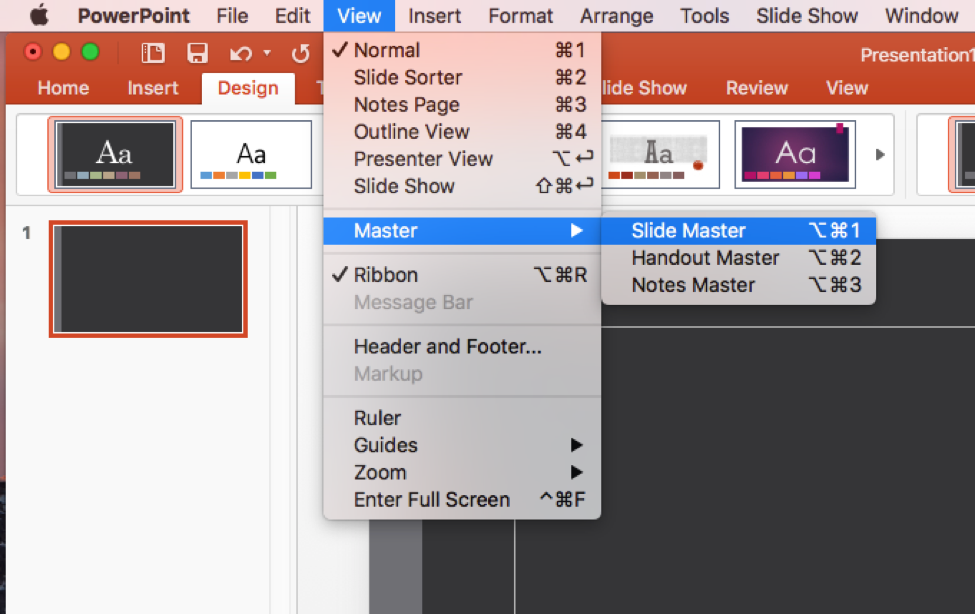
The Slide Master
The Slide Master is your very, very bestest friend when it comes to PowerPoint. I mean, it is better than your BFF. Want to create a template? This is the place to do it. Want to change the font sizes, styles, backgrounds, text box sizes, turn bullet points off, etc. for every slide or style of slide? This is the place to do it.
Think of the Slide Master as your mass editor. You can even change your slide size from wide (16:9) to standard (4:3). Considering that most projector screens are 4:3 and most TV’s are 16:9 you could easily create the best slide show for what and where you are.

Fade to Black (or White)
Pictures are powerful. When preaching and referencing a Bible verse or passage it can be good to have it up on the screen for the congregation to see. But, they can also become a distraction. Having the same picture or text up after a minute or two takes away from where the preacher or presenter is going. I actually read a guy’s D. Min. dissertation on this very fact. So what to do?
Well, you could put in a blank slide, but then your A/V tech needs to be on the top of his or her game. Or, have the presentation fade to black or white until your next point. Simply hit the B key to send the screen to a black out or the W key for a white out.
Slow Presentation? Cut the Transitions and Animations
Sometimes a transition or animation can be a good attention getter. And, sometimes you can overdo them. If your presentation takes a long time to load/fire up or even go from slide-to-slide it could be because it is loaded with transitions and animations. Frankly, for the most part they are not needed. And, just personally, they come across as really dated (like 1990’s Hammer pants dated). A few here or there can be used to good effect. But, every slide or every point is overkill. Many, many times less is more.
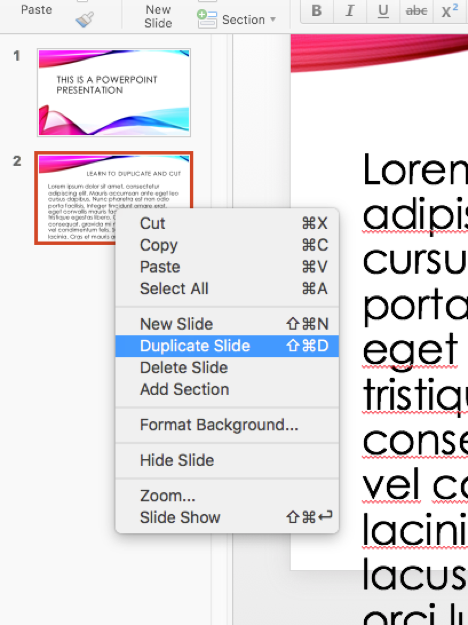
Duplicate and Cut
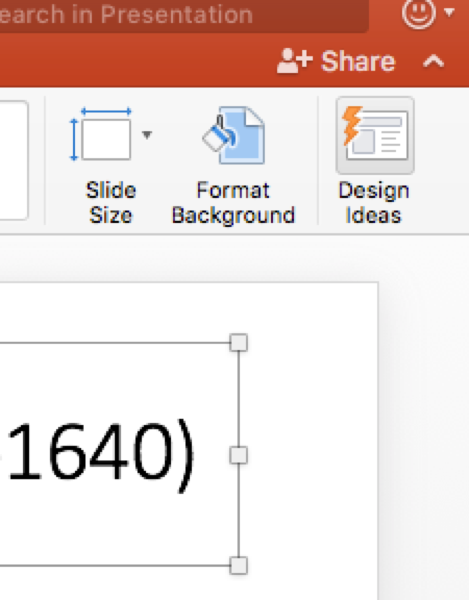
Speaking of less is more, do you ever get textbox overflow or auto-resizing that results in squinting to read it?
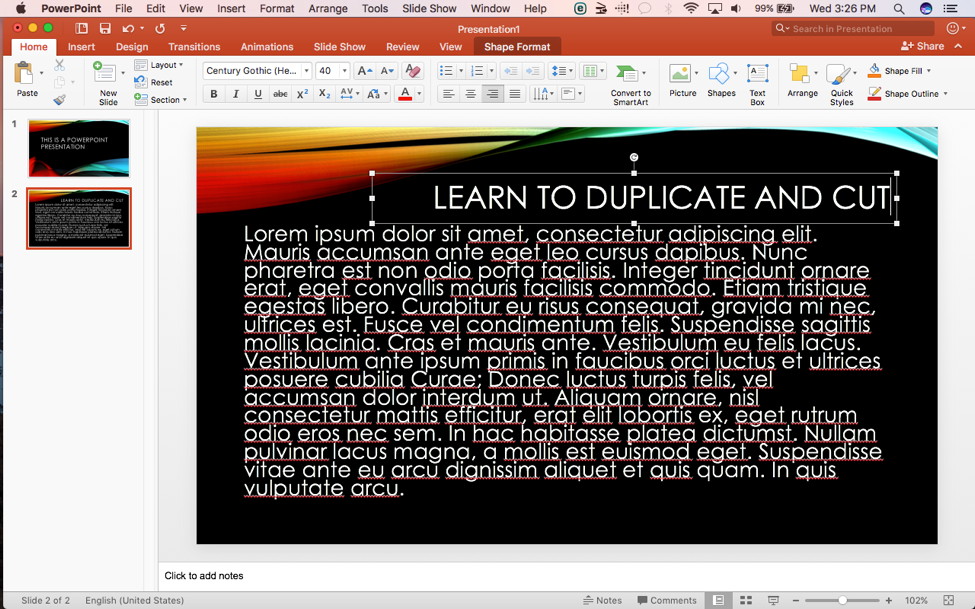
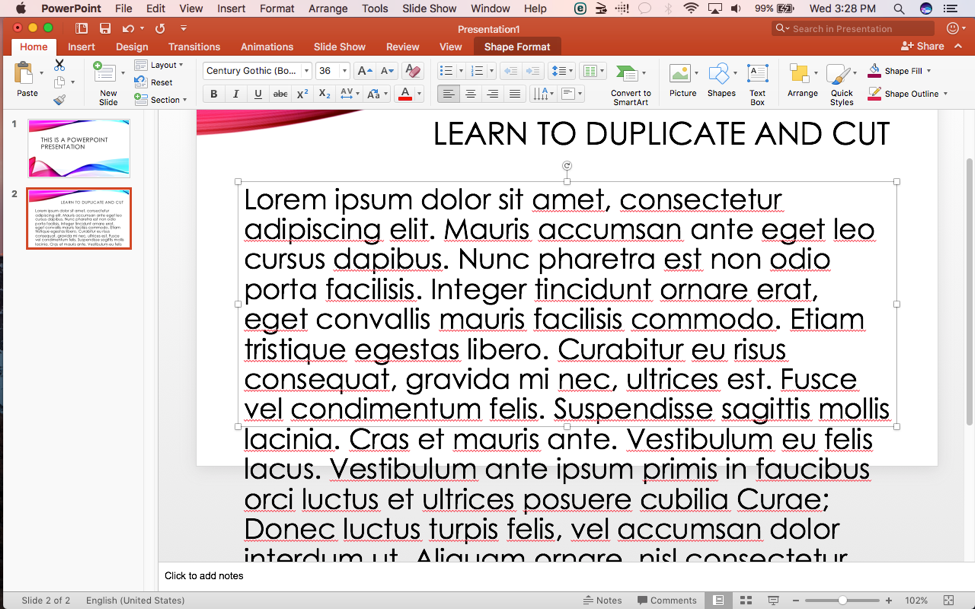
Save some time by duplicating the slide and cutting out text. Continue the process until you reach your desired font size. Some might point out the “split between two slides feature.” Unfortunately, I have not had much luck with that so I still recommend going the duplicate and cut route.
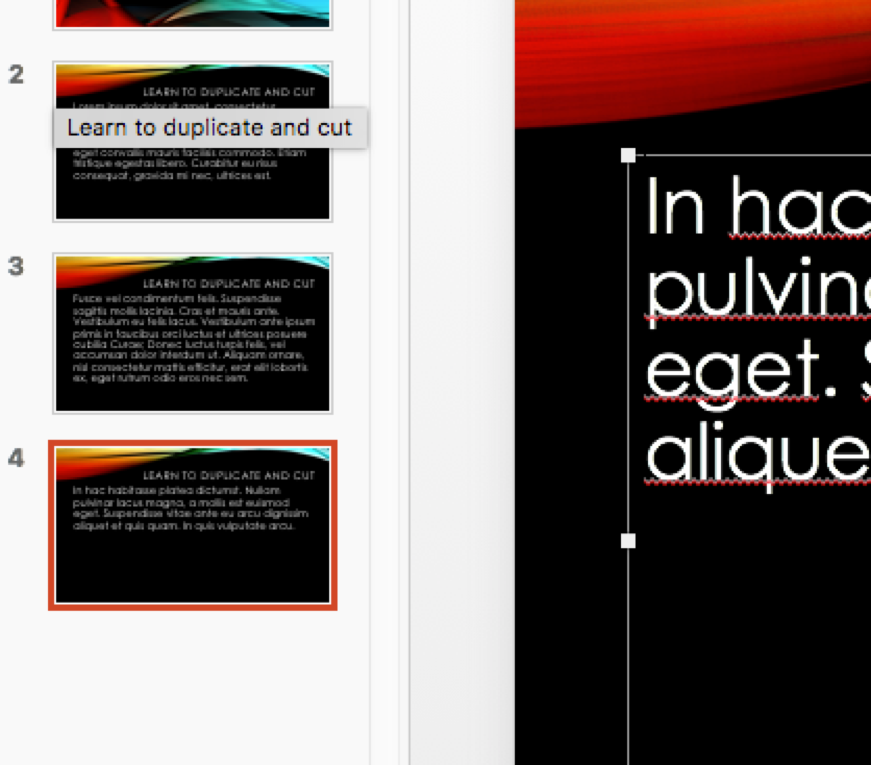
As you can see, what was bunched up on one slide was actually enough for three. And, instead of just retyping three slides in less than 10 seconds I was able to create readable slides that held all my information.
Make PowerPoint Work for You
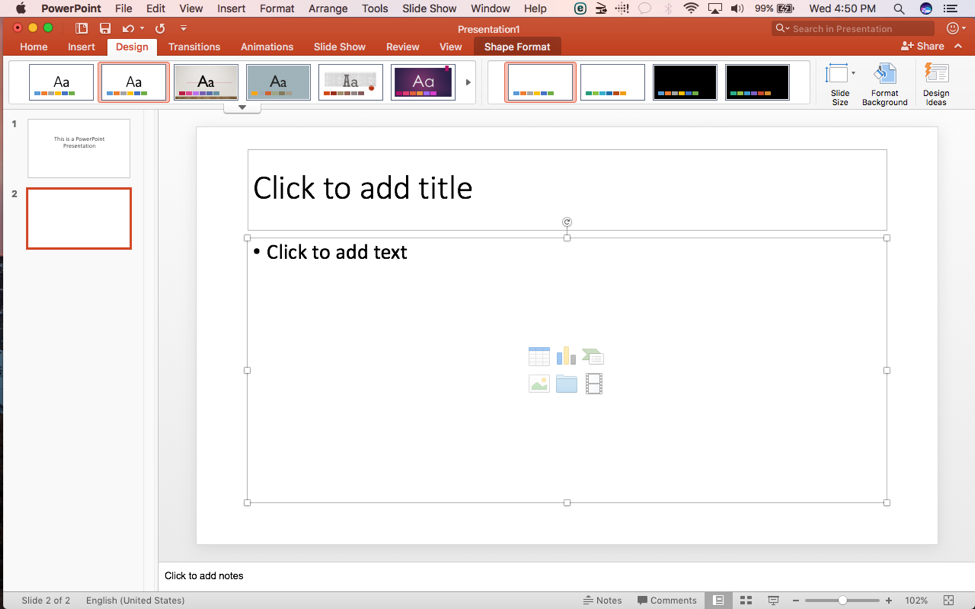
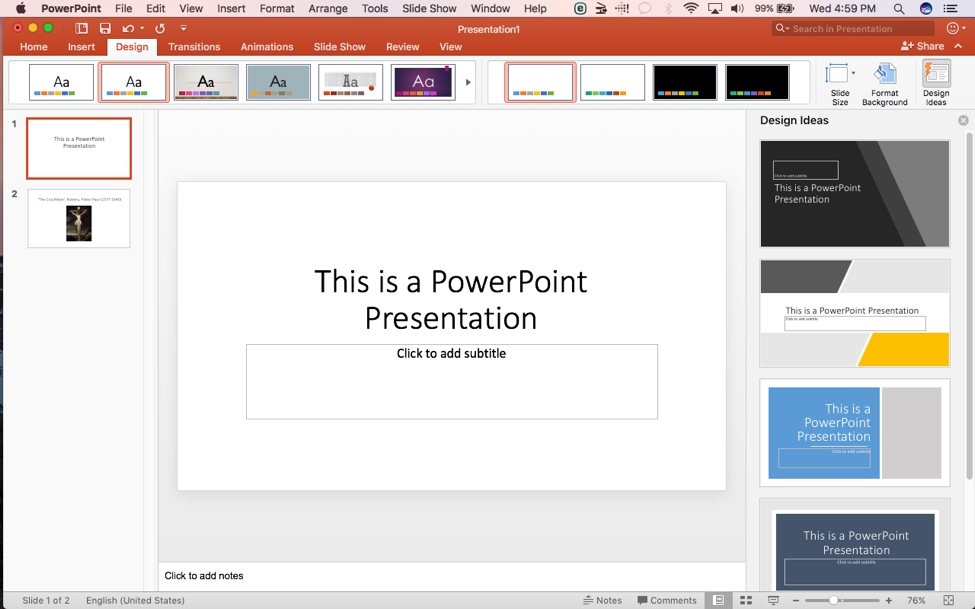
Sometimes designing a presentation is a bridge too far. Whether it is writers block, late in the day, or you have just created six in a row for a Bible study and are out of ideas for number seven. Not too worry. For those who have Microsoft Office 2016 or Office 365 PowerPoint will create template/design suggestions just for you! Here we have your standard blank PowerPoint presentation:
Simply drop in a picture and select the Design Ideas icon found under the design tab.
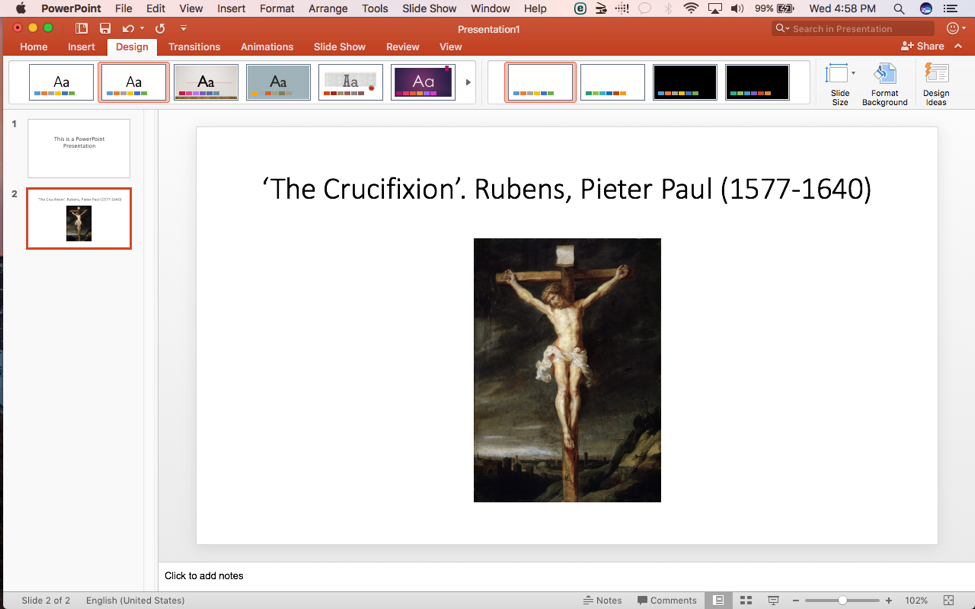
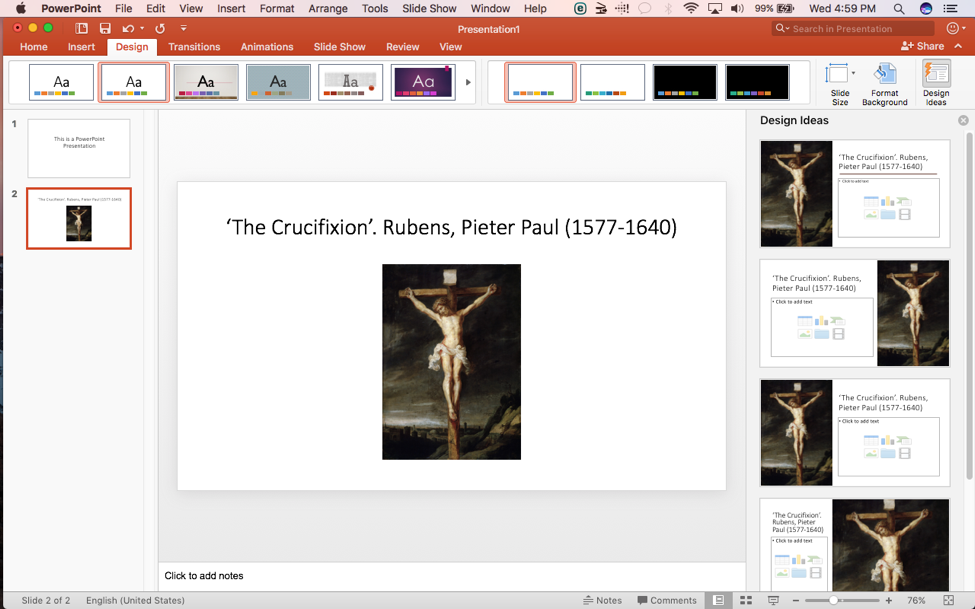
Here is even one for the title slide that you could go back and start the whole theme with, too.
Use Screen Recording
This is a Windows only feature for now, but keep your fingers crossed Mac lovers. Want to show people how to go to a website or some other related computer activity? You can record your screen (and accompanying audio) and have it automatically embedded in a slide.
On a Windows PC go to insert and then all the way over on the right hand side you will see an icon that says, “Screen Recording.” Have fun and record away! Use Windows button + shift + Q to stop the recording and insert the video into your slide.
Use Kiosk Presentation Mode
More than a few churches use PowerPoint for visual announcements to run. Kiosk Presentation Mode makes your PowerPoint run just like a presentation at a mall kiosk. First, under the Master Slide view place a timer on all your slides. Then, under the Slide Show tab select the Set Up Slide Show icon. Then, simply select “Browsed at a kiosk (full screen).” It automatically loops continuously until you press the ‘Esc’ key.
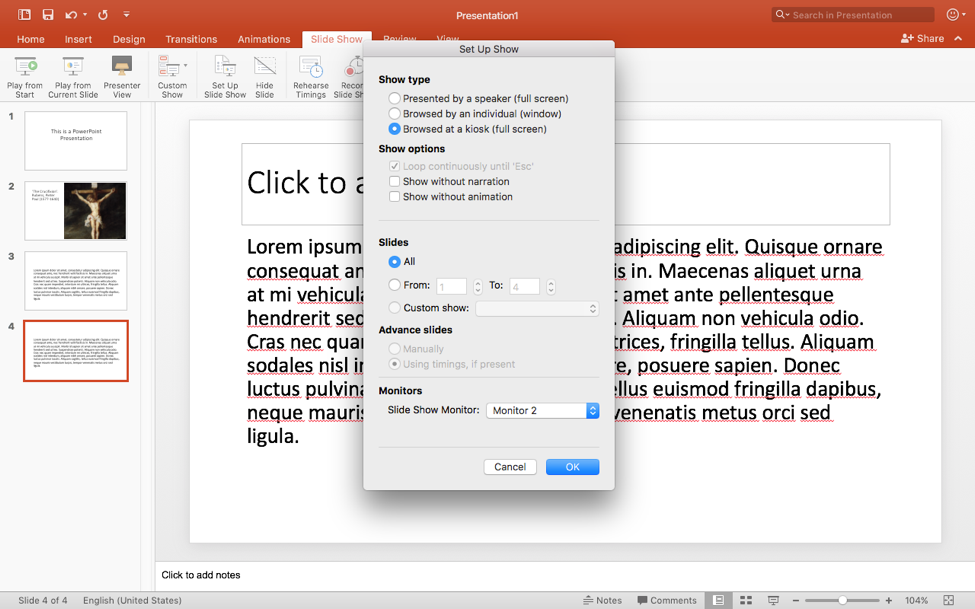
When you are ready, simply play the slide show and enjoy.
What other tips and tricks do you know of or use? Share in the comments below!
Subscribe to this blog, Technology & Your Ministry, to receive notifications about future content like this!


