
Over on our CTS blog, Amanda Lansche recently shared with us some tips on How to Take Quality Photos for Your Church Directory. Once equipped with your quality photos, Church360° Members can assist you in completing the directory process by combining your photos with your member contact information.
Step One: Upload Your Photos
Within Church360° Members, photos can be uploaded into both individual and household profiles. In the case of a church directory you'll probably be uploading most of your photos into the household profiles.However, if you'd like your directory to include some photos of your staff, in addition to your member family photos, I'd recommend that you upload those individual photos into individual profiles, as well. With our recent addition of photo cropping, this task of uploading and re-sizing photos should be easier than ever before!
Step Two: Choose Your Entry Styles
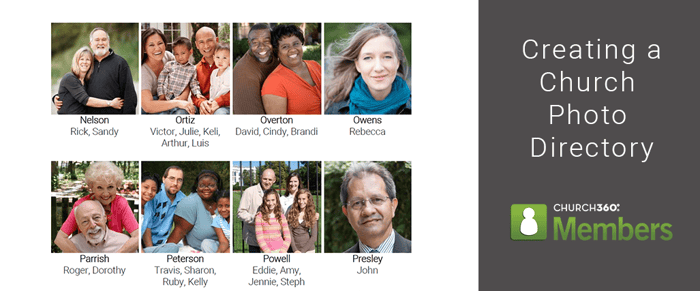
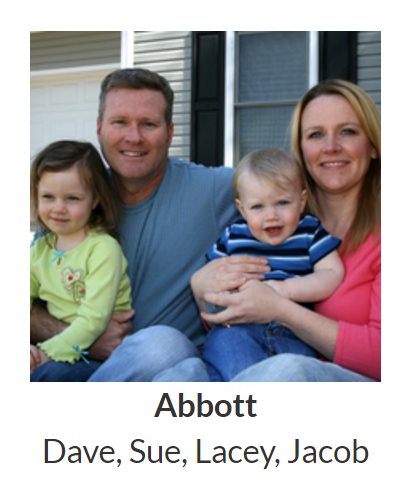
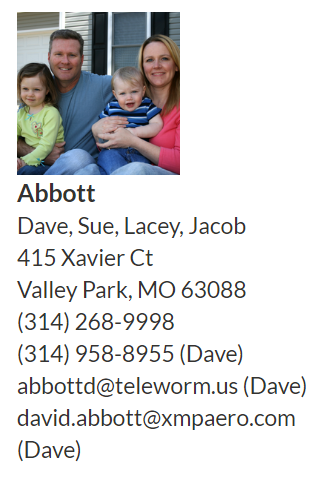
Once your photos are uploaded, your next decision will be choosing an entry style. For a photo directory, we have three styles that are probably most applicable: one has just a photo and name, one has a photo with the contact information below, while the third has a photo with contact information to the side.
Some churches may also wish to print a directory with photos in the front and contact information in the back. To do this, you'll need to first export a directory with the photos and name entry style select, and then export a separate directory using the entry styles that just show contact information. After both directories are exported, just copy and paste them together in Word to consolidate your files before printing.

Step Three: Add Finishing Touches
Once you've exported your directory from Church360° Members, there still may be a few finishing touches needed before you distribute your directory. If you'd like your directory to appear in booklet form, first adjust your page layout. Next, you'll probably want to adjust your font size and style to match the rest of your church's publications. Insert page numbers as a footer to make your directory more easy to navigate or add a cover page with your church's logo. With the finishing touches in place, you'll be ready to distribute your directory to your members via hard copy or email!

We hope this post has given you some ideas on completing a photo directory for your church! If you have any questions or comments, please contact our support team at support@cts.cph.org or 800.346.6120.
To receive product updates on a regular basis, please subscribe to our blog! You can choose to receive updates on an instant, weekly, or monthly basis.


